![[New] Comparing Digital Platform Profits DailyMovement to YouTube Revenue for 2024](https://thmb.techidaily.com/519c0ecb3a4e958d4703170c89bc9f0f4e206bb0aa2219c94653cd1097dc9a0c.jpg)
"[New] Comparing Digital Platform Profits DailyMovement to YouTube Revenue for 2024"
Comparing Digital Platform Profits: DailyMovement to YouTube Revenue
Online video creators are always searching for ways to make their passion profitable. YouTube and Dailymotion are two of the largest video platforms. Millions of users use these platforms, and they have updated features. How do you choose the right video platform?
This article compares Dailymotion monetization to YouTube on privacy, audience, and analytics. To ease this exploration, Filmora is assisting us. This software edits videos to increase platforms’ income-generating potential. Read this article to monetize your videos in a better way, and join us on this journey.
Video Monetization Editor Create engaging and valuable videos with Wondershare Filmora for YouTube and Dailymotion Monetization!
Free Download Free Download Learn More

Part 1. Exploring YouTube and Dailymotion: Platforms for Creators

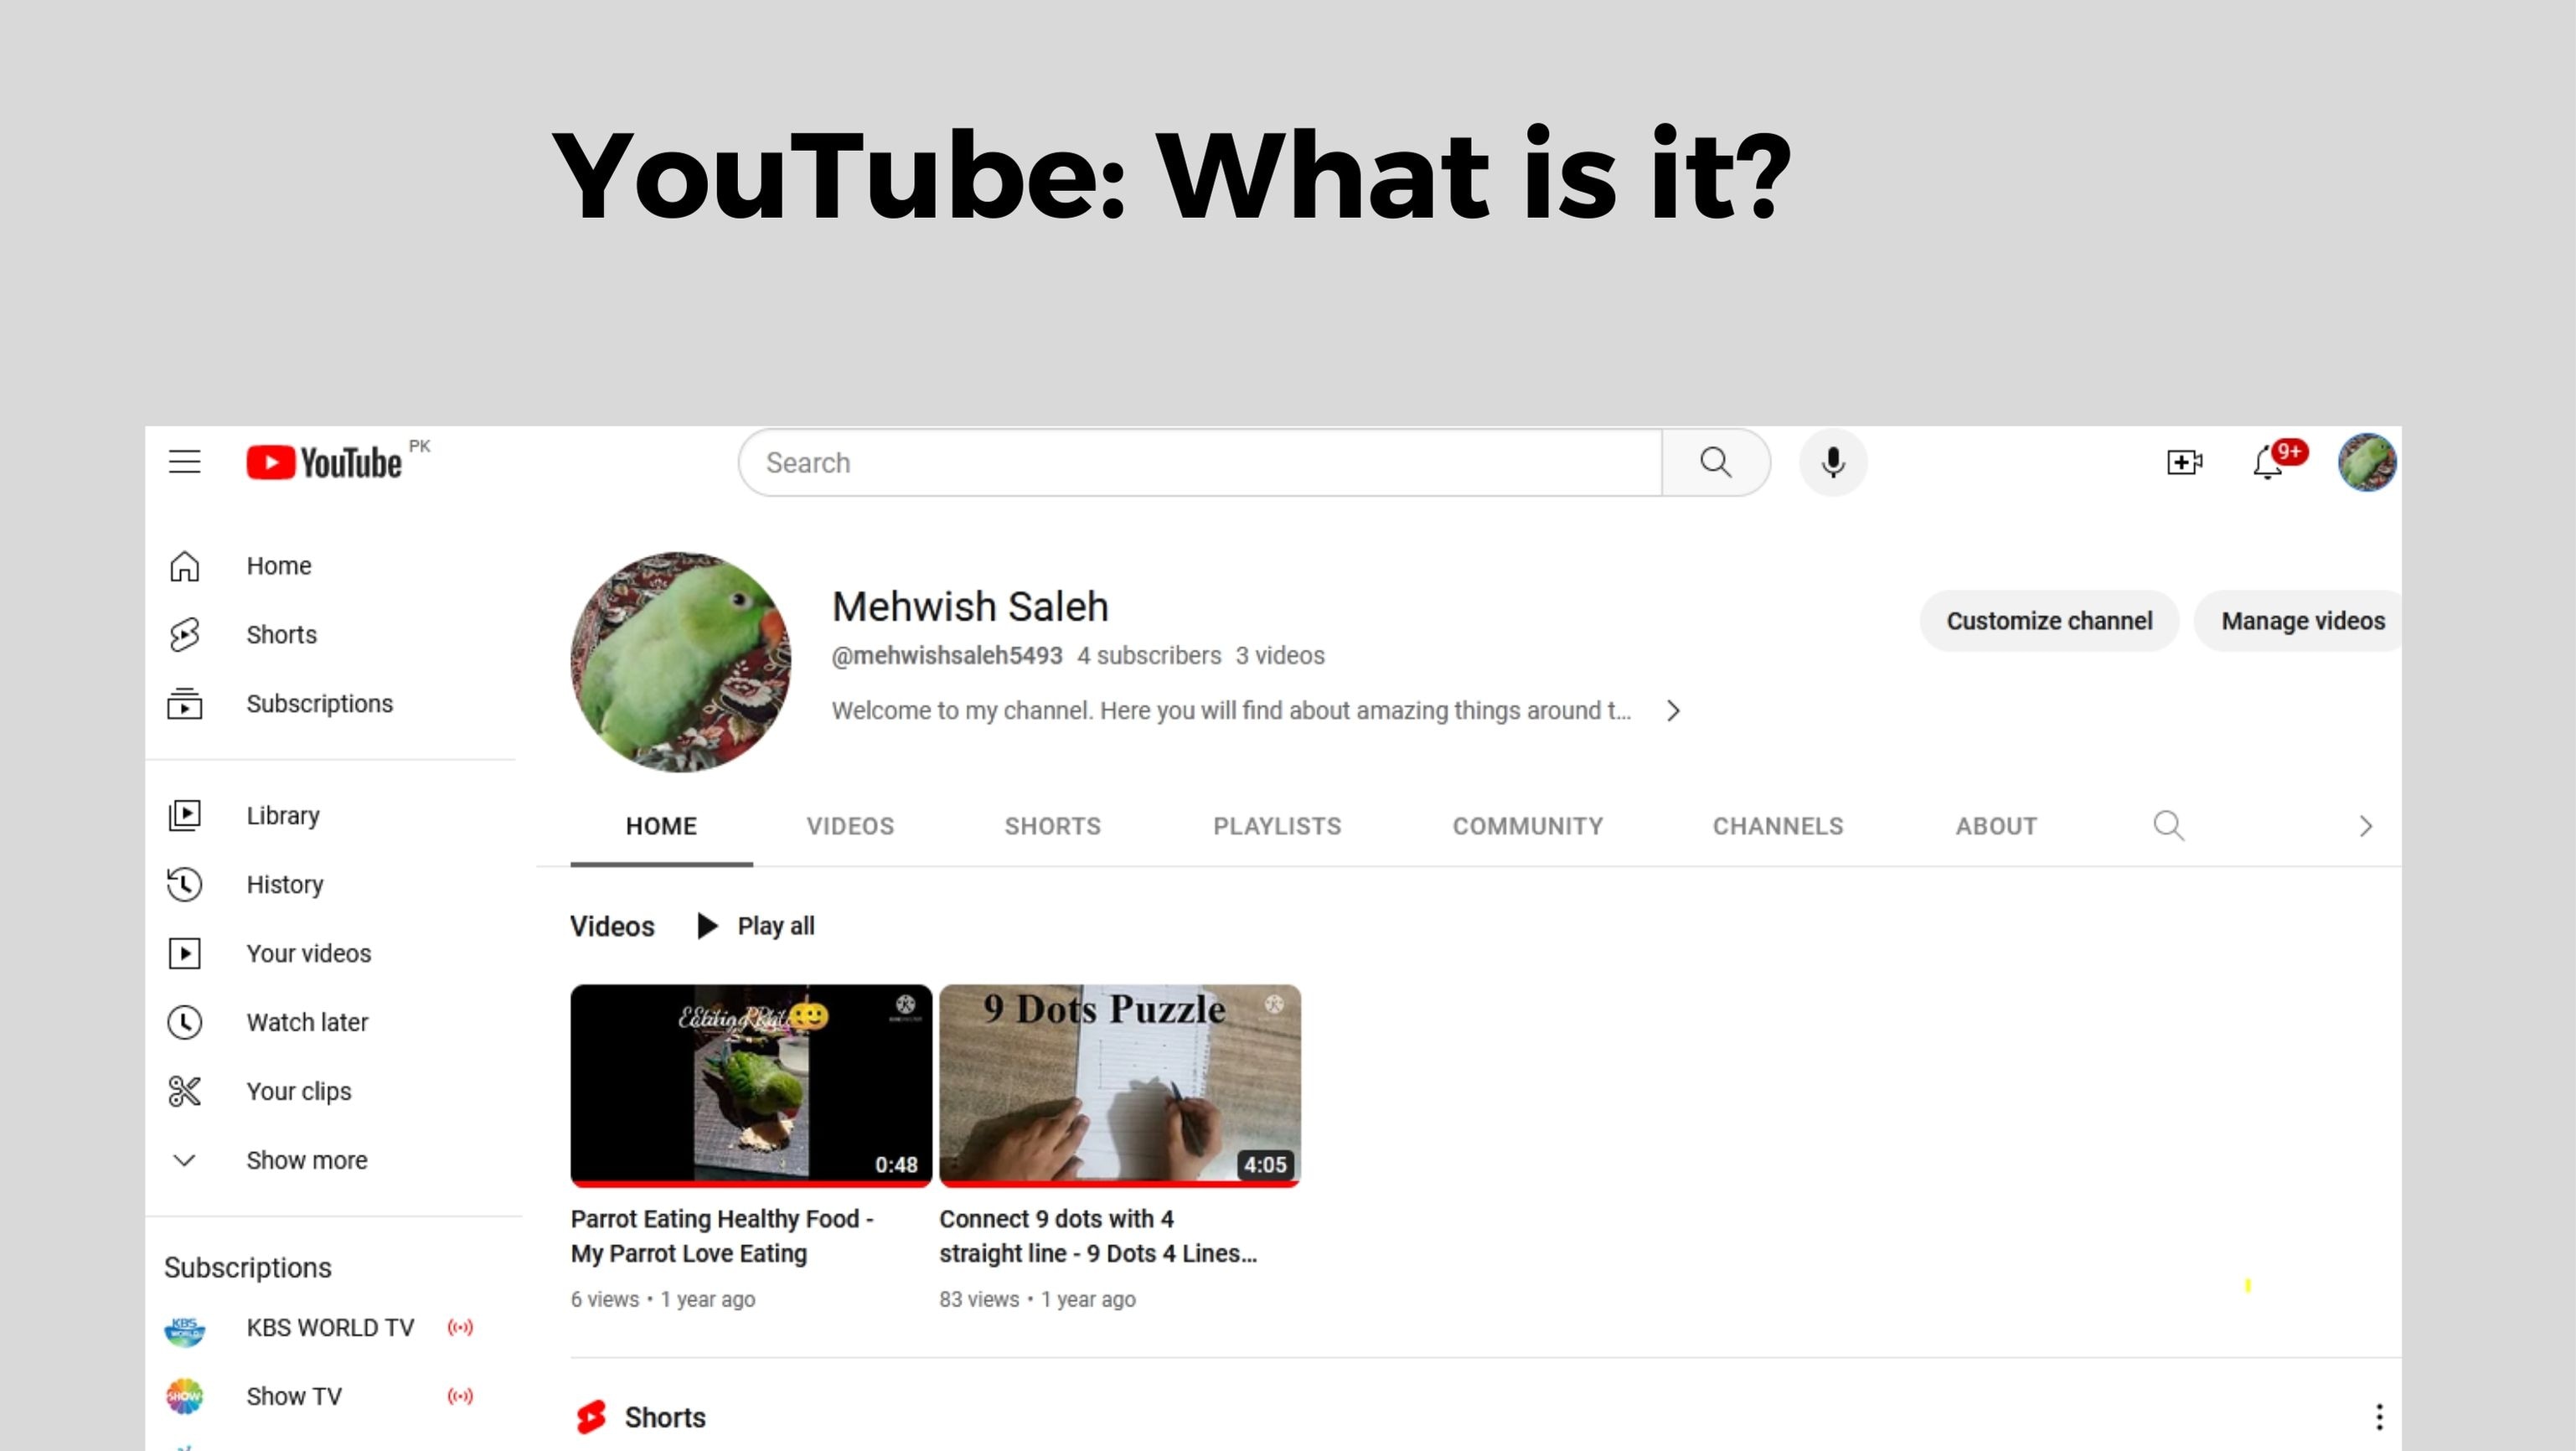
YouTube : What is it?
A three-person team, Chad Hurley, Steve Chen, and Jawed Karim, founded YouTube in 2005. Their goal is to create YouTube as a global platform for sharing videos. A huge $1.65 billion was paid by Google for buying YouTube. YouTube then became a more popular website with over two billion users every month.
Lots of creators, like makeup artists and gamers, make money on YouTube. With the platform, you can livestream, make money from your videos, and watch tons of user-made videos.
Dailymotion : What is it?
A French entrepreneur and an English entrepreneur founded Dailymotion in 2005. Dailymotion became one of the most popular video platforms in France and then Europe in just 1 year. You can upload and share videos on Dailymotion like on YouTube. There is a slight difference in their focus. Dailymotion’s content tends to be professional, while YouTube’s is user-made.
Dailymotion has over 300 million users every month. It’s accessible in 35 different languages. Also, for pro content, it offers features like “Motionmaker” to users and live streaming to creators.

The popularity and user base of YouTube and Dailymotion
YouTube’s user interface is very easy and simple to use. You can filter the results with date and popularity at the top bar of the website. You can watch YouTube without ads and gain access to YouTube analytics.
It’s cool to create your own channel on YouTube. It allows you to upload videos, customize your banner, and create a community.
It is easy to stream videos or share them with friends by creating playlists. YouTube and Dailymotion both have easy-to-use interfaces. You can customize your own channel, and it has categories and channels. YouTube has advanced playlist features, but Dailymotion does not.
It’s not all fun and games - YouTube has fewer ads than Dailymotion. A premium subscription to Dailymotion removes the ads and gives you access to other features.
Both Platforms have Different Content and Audiences
YouTube Content and Audience
Video content on YouTube ranges from cooking tips to music videos. It even offers live streaming concerts and mind-blowing documentaries. Gamer, beauty, sports, and learning enthusiasts will enjoy this channel.
YouTube allows you to upload 12-hour-long videos to increase your watch time. You can also share all types of experiences in the long video. Every day, 2.51 billion active users watch over one billion hours of content. Creators can showcase their work in high definition, up to 8K, on the platform, which is a major advantage. Mobile devices and smartphones also allow offline viewing of videos.
Dailymotion Content and Audience
There’s something special about Dailymotion. The site provides YouTube videos, animated shorts, music, documentaries, and TV shows. Although Dailymotion has upload limits, its videos are still of high quality, up to 1080p. There is a vibrant community of creators looking to connect with their audiences as well. There were 545.3 million visits to Dailymotion in April 2023, making it a strong competitor. Depending on your taste and the content you’re looking for, you can choose either.
Part 2. YouTube vs. Dailymotion Monetization: Unraveling the Key Differences
YouTube and Dailymotion monetization features and opportunities
It’s crucial for content creators to know which monetization options each platform offers. Let’s have a look at the monetization options available on YouTube and Dailymotion. It is possible to earn money from your content on both Dailymotion and YouTube. Dailymotion is easier to monetize, despite its broader and more sophisticated offering.
Programs and options for monetizing YouTube
There are many ways for YouTube creators to make money from their content. You can display video ads for sponsorships, AdSense payments, and merchandise sales. YouTube offers more monetization options and is more advanced than Dailymotion. The YouTube monetization rules can be tricky to meet for eligible accounts.
Programs and options for monetizaton Dailymotion
Creators can also monetize their content on Dailymotion. Dailymotion has fewer monetization options than YouTube. Unlike YouTube, Dailymotion allows creators to earn money through ads.
The Dailymotion Partner Program has made several French video creators extremely wealthy. The CPM is always low for video creators around the world, for whatever reason. Dailymotion Partners from France earn 3000 - 4000 euros per month. Global Partners withdraw the monthly least of $100.
Monetization Requirements and Earning Potential
YouTube’s YPP monetizes accounts with 1,000 subscribers and earns revenue through advertising. You’ll get 55% of the revenue generated by the ads shown during, before, and after your videos. It is also possible to charge channel memberships. For every 1,000 views, the average YouTuber makes about $18.
The Dailymotion Partner Program monetizes your videos. The least number of views you need to monetize your content is 1,000 (combined). One hour of watch time on the platform generates $57 in income, making it a great way to make money!
Choosing Between YouTube and Dailymotion Channel Monetization

Now that you’ve seen a YouTube vs. Dailymotion comparison, you are leaning toward one. Let’s dive into some key questions if you’re still not sure ( you can use both platforms ):
- Do you have a specific group in mind? It’s important to think about who your audience is.
- Are Your Videos Targeted? Do your videos match specific search queries?
- Video Length and Size: How long and big are your videos?
- Monetization: Want to make money? Consider your subscriber count.
- Privacy Control: How much control do you need over your content’s privacy?
- Analytics: Do you want detailed data on your video performance?
YouTube is your best bet if you want organic search traffic, a wide audience, and hefty videos. If you want privacy control, or if you want to monetize, Dailymotion shines.
Whatever you pick, remember to add captions to your videos. Transcription tools can help with that, making your content more accessible and engaging.
Part 3. Enhance Your Monetization Journey with Wondershare Filmora: A Video Editing Solution
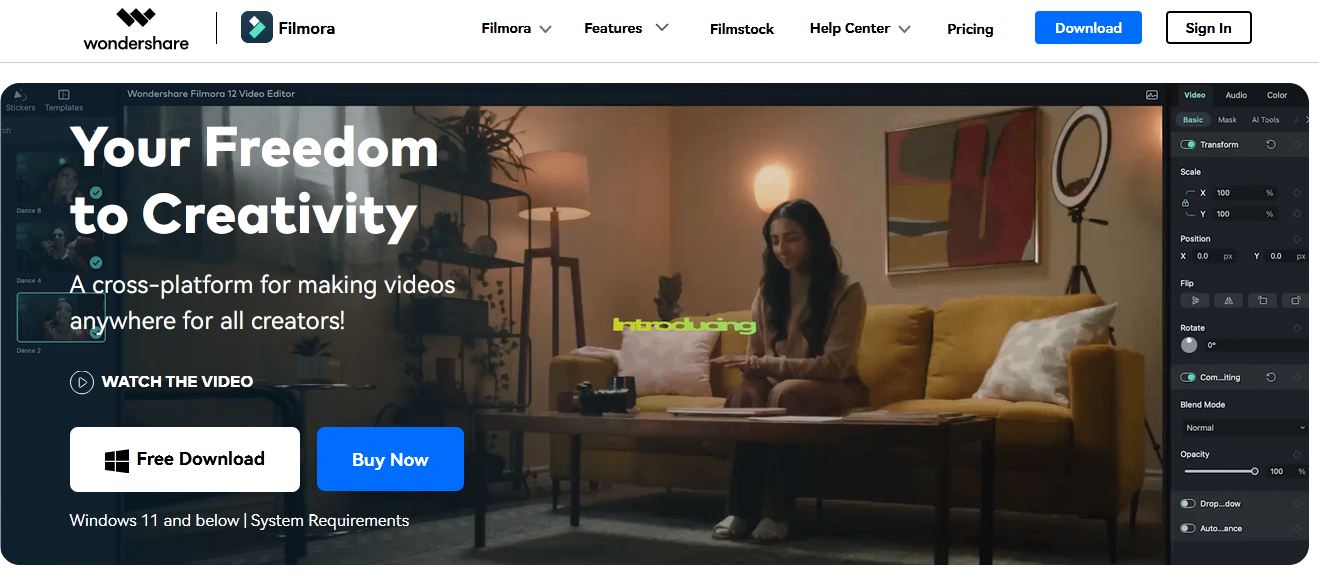
Let’s take a look at a powerful tool to enhance your gaming experience. It’s Wondershare Filmora. Creating engaging and valuable videos is easy with Wondershare Filmora. An attractive user interface, a media library, and many useful features make it a great choice. A video tool that turns content creators’ vision into professional content. Filmora is perfect for YouTubers, filmmakers, and vloggers of all skill levels.
Free Download For Win 7 or later(64-bit)
Free Download For macOS 10.14 or later
Filmora Features for Monetization Magic
1.Creative Templates
Filmora’s video templates make it easy to create nice videos. With these templates, you can easily make a captivating intro or an engaging end screen. You make more money when you keep your audience interested.

2. Advanced Audio Editing
To create engaging content, you must have great audio. With Filmora’s audio tools, you can stretch, denoise, and duck audio to improve your videos. Having engaged viewers means you’re more likely to generate income from ads and sales.

3. Enhancing Your Videos with Video Effects
Using Wondershare Filmora, you can transform your ordinary videos into something extraordinary. There are a variety of effects available, such as overlays, filters, and transitions. Filters allow you to change your videos’ feel and appearance. With overlays, like glitch overlays, you can enhance your videos.

4. Color Correction
Wondershare Filmora’s color correction tool can make your videos much better. You can change the colors and mood of your videos with Filmora’s color options. To make your videos look more professional, you can adjust their brightness or darkness. Using vibrant colors can help you earn more and draw in more customers.
Conclusion
When it comes to making money from your passion, picking the right platform is crucial. This guide has shown the main differences between YouTube and Dailymotion monetization. With Wondershare Filmora, you can make the most money from both places.
YouTube is great for long videos, a big audience, and finding people naturally. Monetization Dailymotion is good for making money without needing as many subscribers.
If you put captions on your videos, more people will watch. Think of Filmora as a friend who helps you make money with fun, good videos. It’s like having a partner in making money from your videos.
Free Download Free Download Learn More
Part 1. Exploring YouTube and Dailymotion: Platforms for Creators
YouTube : What is it?
A three-person team, Chad Hurley, Steve Chen, and Jawed Karim, founded YouTube in 2005. Their goal is to create YouTube as a global platform for sharing videos. A huge $1.65 billion was paid by Google for buying YouTube. YouTube then became a more popular website with over two billion users every month.
Lots of creators, like makeup artists and gamers, make money on YouTube. With the platform, you can livestream, make money from your videos, and watch tons of user-made videos.
Dailymotion : What is it?
A French entrepreneur and an English entrepreneur founded Dailymotion in 2005. Dailymotion became one of the most popular video platforms in France and then Europe in just 1 year. You can upload and share videos on Dailymotion like on YouTube. There is a slight difference in their focus. Dailymotion’s content tends to be professional, while YouTube’s is user-made.
Dailymotion has over 300 million users every month. It’s accessible in 35 different languages. Also, for pro content, it offers features like “Motionmaker” to users and live streaming to creators.
The popularity and user base of YouTube and Dailymotion
YouTube’s user interface is very easy and simple to use. You can filter the results with date and popularity at the top bar of the website. You can watch YouTube without ads and gain access to YouTube analytics.
It’s cool to create your own channel on YouTube. It allows you to upload videos, customize your banner, and create a community.
It is easy to stream videos or share them with friends by creating playlists. YouTube and Dailymotion both have easy-to-use interfaces. You can customize your own channel, and it has categories and channels. YouTube has advanced playlist features, but Dailymotion does not.
It’s not all fun and games - YouTube has fewer ads than Dailymotion. A premium subscription to Dailymotion removes the ads and gives you access to other features.
Both Platforms have Different Content and Audiences
YouTube Content and Audience
Video content on YouTube ranges from cooking tips to music videos. It even offers live streaming concerts and mind-blowing documentaries. Gamer, beauty, sports, and learning enthusiasts will enjoy this channel.
YouTube allows you to upload 12-hour-long videos to increase your watch time. You can also share all types of experiences in the long video. Every day, 2.51 billion active users watch over one billion hours of content. Creators can showcase their work in high definition, up to 8K, on the platform, which is a major advantage. Mobile devices and smartphones also allow offline viewing of videos.
Dailymotion Content and Audience
There’s something special about Dailymotion. The site provides YouTube videos, animated shorts, music, documentaries, and TV shows. Although Dailymotion has upload limits, its videos are still of high quality, up to 1080p. There is a vibrant community of creators looking to connect with their audiences as well. There were 545.3 million visits to Dailymotion in April 2023, making it a strong competitor. Depending on your taste and the content you’re looking for, you can choose either.
Part 2. YouTube vs. Dailymotion Monetization: Unraveling the Key Differences
YouTube and Dailymotion monetization features and opportunities
It’s crucial for content creators to know which monetization options each platform offers. Let’s have a look at the monetization options available on YouTube and Dailymotion. It is possible to earn money from your content on both Dailymotion and YouTube. Dailymotion is easier to monetize, despite its broader and more sophisticated offering.
Programs and options for monetizing YouTube
There are many ways for YouTube creators to make money from their content. You can display video ads for sponsorships, AdSense payments, and merchandise sales. YouTube offers more monetization options and is more advanced than Dailymotion. The YouTube monetization rules can be tricky to meet for eligible accounts.
Programs and options for monetizaton Dailymotion
Creators can also monetize their content on Dailymotion. Dailymotion has fewer monetization options than YouTube. Unlike YouTube, Dailymotion allows creators to earn money through ads.
The Dailymotion Partner Program has made several French video creators extremely wealthy. The CPM is always low for video creators around the world, for whatever reason. Dailymotion Partners from France earn 3000 - 4000 euros per month. Global Partners withdraw the monthly least of $100.
Monetization Requirements and Earning Potential
YouTube’s YPP monetizes accounts with 1,000 subscribers and earns revenue through advertising. You’ll get 55% of the revenue generated by the ads shown during, before, and after your videos. It is also possible to charge channel memberships. For every 1,000 views, the average YouTuber makes about $18.
The Dailymotion Partner Program monetizes your videos. The least number of views you need to monetize your content is 1,000 (combined). One hour of watch time on the platform generates $57 in income, making it a great way to make money!
Choosing Between YouTube and Dailymotion Channel Monetization
Now that you’ve seen a YouTube vs. Dailymotion comparison, you are leaning toward one. Let’s dive into some key questions if you’re still not sure ( you can use both platforms ):
- Do you have a specific group in mind? It’s important to think about who your audience is.
- Are Your Videos Targeted? Do your videos match specific search queries?
- Video Length and Size: How long and big are your videos?
- Monetization: Want to make money? Consider your subscriber count.
- Privacy Control: How much control do you need over your content’s privacy?
- Analytics: Do you want detailed data on your video performance?
YouTube is your best bet if you want organic search traffic, a wide audience, and hefty videos. If you want privacy control, or if you want to monetize, Dailymotion shines.
Whatever you pick, remember to add captions to your videos. Transcription tools can help with that, making your content more accessible and engaging.
Part 3. Enhance Your Monetization Journey with Wondershare Filmora: A Video Editing Solution
Let’s take a look at a powerful tool to enhance your gaming experience. It’s Wondershare Filmora. Creating engaging and valuable videos is easy with Wondershare Filmora. An attractive user interface, a media library, and many useful features make it a great choice. A video tool that turns content creators’ vision into professional content. Filmora is perfect for YouTubers, filmmakers, and vloggers of all skill levels.
Free Download For Win 7 or later(64-bit)
Free Download For macOS 10.14 or later
Filmora Features for Monetization Magic
1.Creative Templates
Filmora’s video templates make it easy to create nice videos. With these templates, you can easily make a captivating intro or an engaging end screen. You make more money when you keep your audience interested.
2. Advanced Audio Editing
To create engaging content, you must have great audio. With Filmora’s audio tools, you can stretch, denoise, and duck audio to improve your videos. Having engaged viewers means you’re more likely to generate income from ads and sales.
3. Enhancing Your Videos with Video Effects
Using Wondershare Filmora, you can transform your ordinary videos into something extraordinary. There are a variety of effects available, such as overlays, filters, and transitions. Filters allow you to change your videos’ feel and appearance. With overlays, like glitch overlays, you can enhance your videos.
4. Color Correction
Wondershare Filmora’s color correction tool can make your videos much better. You can change the colors and mood of your videos with Filmora’s color options. To make your videos look more professional, you can adjust their brightness or darkness. Using vibrant colors can help you earn more and draw in more customers.
Conclusion
When it comes to making money from your passion, picking the right platform is crucial. This guide has shown the main differences between YouTube and Dailymotion monetization. With Wondershare Filmora, you can make the most money from both places.
YouTube is great for long videos, a big audience, and finding people naturally. Monetization Dailymotion is good for making money without needing as many subscribers.
If you put captions on your videos, more people will watch. Think of Filmora as a friend who helps you make money with fun, good videos. It’s like having a partner in making money from your videos.
Pre-Production Meets Post-Production: Premiere and YouTube
How Do I Use Adobe Premiere To Upload YouTube Videos?

Benjamin Arango
Mar 27, 2024• Proven solutions
Whilst getting the editing and post work just right on any project is what we all aim for, the ultimate aim is for other people to see our creations, and the most popular way to achieve that is YouTube . Chances are, if you are producing video, you will be putting some of it on YouTube at some point, so let’s have a look at the most efficient way to get your work from Premiere to YouTube.
Check if your computer meet the Premiere System Requirements >>
This is a basic tutorial about Adobe Premiere, professional video editing software. However, if video editing is new to you, consider Wondershare Filmora , which is a powerful but easy-to-use tool for users just starting out. Download the free trial version below.
 Download Mac Version ](https://tools.techidaily.com/wondershare/filmora/download/ )
How Do I Use Adobe Premiere To Upload YouTube Videos
1. Master Copy
Before exporting your work, it is important to first create a master copy of your project that is ‘as is’, in that it reflects the settings and codecs used in the original footage.
To do this you simply select the sequence within the Timeline or in the Project Panel, and go through the menu tree via File > Export > Media to bring up the export dialogue.

To create your Master Copy, simply select the first option of ‘Match Sequence Settings’, this exports a file that is of the same quality as your original footage, essentially producing a digital copy of the work for archiving before anything else is done.
With you work safe and secure it is now time to look at ensuring the project is suitable for YouTube. With our sequence selected in the Timeline or Project Panel again, we go through the same File > Export > Media path to bring up the media export dialogue as before.
2. Container
The first option we have to consider is the file format that our finished video needs to be in. Here you should refer to YouTube for its guidelines, whilst they do accept a number of file formats, digging through the YouTube help system to find the settings for highest quality we find that they recommend MPEG4 as the container, using the codec.

We can also see further recommended settings in this screenshot that will be covered later.
The good news is that Premiere automatically selects the appropriate container for us when we select our codec, however it is worth knowing the file type YouTube is expecting just to check yourself.
3. Video Codec
So having established that YouTube recommends the MPEG4 container using the codec, the first option we need to look for in the media export dialogue is to select the appropriate Format.
This is the first drop down in the dialogue box, and in this case we simply select from the list.

Once you select you can check the ‘output name’ field and see that premiere is automatically set the output file to .mp4 which is exactly what we need.
4. Preset
The next field we come to is the ‘Preset’ dropdown menu. This is a major help to most people, as Adobe have very kindly included large numbers of presets to quickly adapt video settings to suit specific uses. They vary depending on the exact version of Premiere you are using, and each format type does have its own list of presets, as we can see has a large number for YouTube, but also has many presets for specific devices (presets for iPad, Kindle, Nook, various other tablets and phones, Vimeo and a host of others) to make getting the right settings that bit easier for us.

It is important here to select the correct preset from the various YouTube options. You want to select the resolution and frame rate that match your source file, for the best results. So, if your source file is 1080p with a frame rate of 29.97 fps then that is the YouTube setting you would select.
Once a preset is selected a summary of the settings is displayed below, normally these will be well suited to your project, however you can fine tune anything you wish by selecting the video or audio tabs at the bottom which give you the chance to adjust each parameter individually. If you do this, you can save these changes as a custom preset by clicking the button at the side of the Preset dropdown menu and simply use it on later projects by selecting it from the list the same as any other, a great time saving tool.

5. Rendering
Once you are satisfied with the settings, either from the Preset alone or if you have adjusted anything yourself, you are nearly ready to render the file and export it.
For YouTube it is recommended you select the ‘Use Maximum Render Quality’ option to maintain the best output you can, it does add time to the render process but if you value the quality of your work it is worthwhile.
Finally you can choose a suitable filename and the destination of the file by clicking on the ‘Output Name’ field.
I normally use a filename that includes the destination medium so I can differentiate between different versions of a project and know which one to upload where, in this case I include ‘youtube’, but if I were planning on uploading clips of the project to vimeo as well for instance there may be a cut of the project with ‘vimeo’ in the name too. The destination is personal preference, because I do use filenames to differentiate versions I can put the various iterations into a single project file, others have folder structures for each type of file , so all YouTube output goes into a single folder and so on, how you organize is entirely dependent on how you work.

Once those are selected clicking ‘Export’ starts the rendering process, and eventually (how long depends on the speed of your computer and the size and type of file involved), you will end up with your YouTube optimized video in the location you chose.
Here I created 4 key frames that let the ‘Animation’ object move around the ‘Demo Text’ Object and finally come to rest below it. Whilst this type of effect does look very effective on screen, such is the ease of use of After Effects it really is just a few minutes work to achieve.
Learn more details about How to add text in Premiere >>
6. Uploading
Now you have your file, the next step is to go to your YouTube account and log in if you need to.
On the top of your homepage on the right is the upload button, selecting that brings up the select file menu as below.

You can either drag your file into the window or click on it to open a standard file browser to locate the desired file, click and the upload will begin. The dropdown underneath allows you to set the video as Public, Unlisted or Private. You can change this at any time once the video is uploaded as well.
This opens the upload progress window, where you can add in a name, description and tags as well as add the video to a playlist or adjust the privacy settings as the video is uploading.

Once the upload as finished, you can do final adjustments to settings and choose a thumbnail for the video. The final step is to click the ‘Publish’ button and your video will be processed and go live.

Benjamin Arango
Benjamin Arango is a writer and a lover of all things video.
Follow @Benjamin Arango
Benjamin Arango
Mar 27, 2024• Proven solutions
Whilst getting the editing and post work just right on any project is what we all aim for, the ultimate aim is for other people to see our creations, and the most popular way to achieve that is YouTube . Chances are, if you are producing video, you will be putting some of it on YouTube at some point, so let’s have a look at the most efficient way to get your work from Premiere to YouTube.
Check if your computer meet the Premiere System Requirements >>
This is a basic tutorial about Adobe Premiere, professional video editing software. However, if video editing is new to you, consider Wondershare Filmora , which is a powerful but easy-to-use tool for users just starting out. Download the free trial version below.
Download Mac Version ](https://tools.techidaily.com/wondershare/filmora/download/ )
How Do I Use Adobe Premiere To Upload YouTube Videos
1. Master Copy
Before exporting your work, it is important to first create a master copy of your project that is ‘as is’, in that it reflects the settings and codecs used in the original footage.
To do this you simply select the sequence within the Timeline or in the Project Panel, and go through the menu tree via File > Export > Media to bring up the export dialogue.
To create your Master Copy, simply select the first option of ‘Match Sequence Settings’, this exports a file that is of the same quality as your original footage, essentially producing a digital copy of the work for archiving before anything else is done.
With you work safe and secure it is now time to look at ensuring the project is suitable for YouTube. With our sequence selected in the Timeline or Project Panel again, we go through the same File > Export > Media path to bring up the media export dialogue as before.
2. Container
The first option we have to consider is the file format that our finished video needs to be in. Here you should refer to YouTube for its guidelines, whilst they do accept a number of file formats, digging through the YouTube help system to find the settings for highest quality we find that they recommend MPEG4 as the container, using the codec.
We can also see further recommended settings in this screenshot that will be covered later.
The good news is that Premiere automatically selects the appropriate container for us when we select our codec, however it is worth knowing the file type YouTube is expecting just to check yourself.
3. Video Codec
So having established that YouTube recommends the MPEG4 container using the codec, the first option we need to look for in the media export dialogue is to select the appropriate Format.
This is the first drop down in the dialogue box, and in this case we simply select from the list.
Once you select you can check the ‘output name’ field and see that premiere is automatically set the output file to .mp4 which is exactly what we need.
4. Preset
The next field we come to is the ‘Preset’ dropdown menu. This is a major help to most people, as Adobe have very kindly included large numbers of presets to quickly adapt video settings to suit specific uses. They vary depending on the exact version of Premiere you are using, and each format type does have its own list of presets, as we can see has a large number for YouTube, but also has many presets for specific devices (presets for iPad, Kindle, Nook, various other tablets and phones, Vimeo and a host of others) to make getting the right settings that bit easier for us.
It is important here to select the correct preset from the various YouTube options. You want to select the resolution and frame rate that match your source file, for the best results. So, if your source file is 1080p with a frame rate of 29.97 fps then that is the YouTube setting you would select.
Once a preset is selected a summary of the settings is displayed below, normally these will be well suited to your project, however you can fine tune anything you wish by selecting the video or audio tabs at the bottom which give you the chance to adjust each parameter individually. If you do this, you can save these changes as a custom preset by clicking the button at the side of the Preset dropdown menu and simply use it on later projects by selecting it from the list the same as any other, a great time saving tool.
5. Rendering
Once you are satisfied with the settings, either from the Preset alone or if you have adjusted anything yourself, you are nearly ready to render the file and export it.
For YouTube it is recommended you select the ‘Use Maximum Render Quality’ option to maintain the best output you can, it does add time to the render process but if you value the quality of your work it is worthwhile.
Finally you can choose a suitable filename and the destination of the file by clicking on the ‘Output Name’ field.
I normally use a filename that includes the destination medium so I can differentiate between different versions of a project and know which one to upload where, in this case I include ‘youtube’, but if I were planning on uploading clips of the project to vimeo as well for instance there may be a cut of the project with ‘vimeo’ in the name too. The destination is personal preference, because I do use filenames to differentiate versions I can put the various iterations into a single project file, others have folder structures for each type of file , so all YouTube output goes into a single folder and so on, how you organize is entirely dependent on how you work.
Once those are selected clicking ‘Export’ starts the rendering process, and eventually (how long depends on the speed of your computer and the size and type of file involved), you will end up with your YouTube optimized video in the location you chose.
Here I created 4 key frames that let the ‘Animation’ object move around the ‘Demo Text’ Object and finally come to rest below it. Whilst this type of effect does look very effective on screen, such is the ease of use of After Effects it really is just a few minutes work to achieve.
Learn more details about How to add text in Premiere >>
6. Uploading
Now you have your file, the next step is to go to your YouTube account and log in if you need to.
On the top of your homepage on the right is the upload button, selecting that brings up the select file menu as below.
You can either drag your file into the window or click on it to open a standard file browser to locate the desired file, click and the upload will begin. The dropdown underneath allows you to set the video as Public, Unlisted or Private. You can change this at any time once the video is uploaded as well.
This opens the upload progress window, where you can add in a name, description and tags as well as add the video to a playlist or adjust the privacy settings as the video is uploading.
Once the upload as finished, you can do final adjustments to settings and choose a thumbnail for the video. The final step is to click the ‘Publish’ button and your video will be processed and go live.
Benjamin Arango
Benjamin Arango is a writer and a lover of all things video.
Follow @Benjamin Arango
Also read:
- [New] The Ultimate Resource for Artists Identifying the Top 10 Free Online Creative Communities
- [New] Unveiling the Secrets to Filmora’s FCC Status
- [Updated] Fixed Eclipsed YouTube Short Video
- [Updated] In 2024, Discover Top Platforms for YouTube Brand Partnerships
- [Updated] In 2024, Win 11 Two Approaches to Reactivate Photo Viewer Functionality
- Automate Your Social Media Presence: Scheduling Tweets Like a Pro
- Create Engaging Page-Turning eBooks From Multiple PowerPoints Using FlipBuilder - Tips & Techniques
- Guide to Disable Facebook Broadcasts, Mobile/Desktop
- In 2024, 9 Best Phone Monitoring Apps for Vivo Y27 5G | Dr.fone
- In 2024, Does find my friends work on Vivo Y27s | Dr.fone
- In 2024, Joke Geniuses at Your Service Free of Charges
- Integrating Your TV with Apple's HomePod - A Step by Step Guide
- The Commercial Side of Casual Videography for 2024
- Unlock Significant Battery Life Extension on Windows N 11: Key Tips to Remember
- Title: [New] Comparing Digital Platform Profits DailyMovement to YouTube Revenue for 2024
- Author: George
- Created at : 2025-01-04 17:21:09
- Updated at : 2025-01-09 18:41:02
- Link: https://facebook-video-share.techidaily.com/new-comparing-digital-platform-profits-dailymovement-to-youtube-revenue-for-2024/
- License: This work is licensed under CC BY-NC-SA 4.0.